“`html
Jump to Recipe
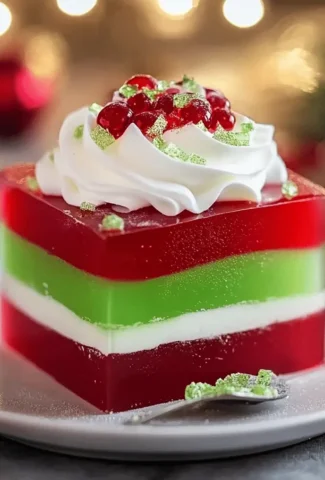
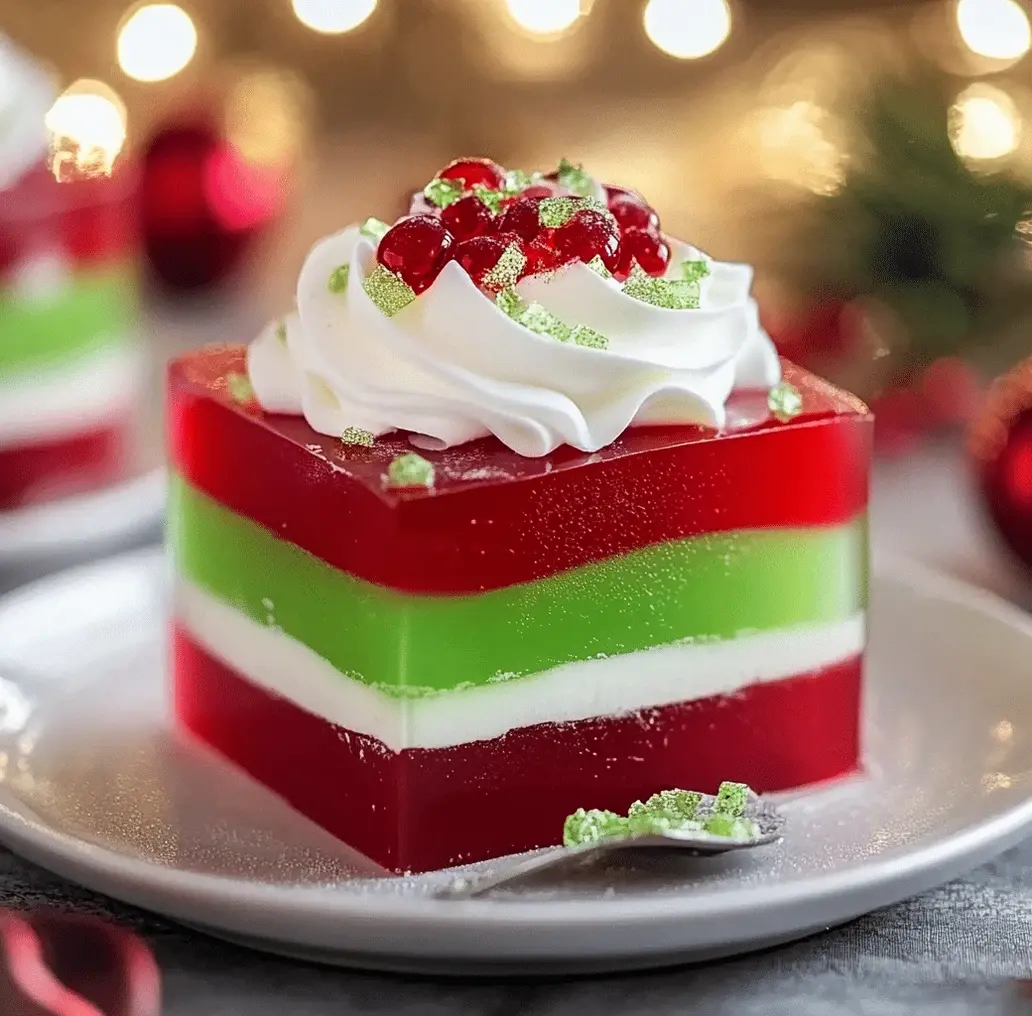
Easy Layered Christmas Jello: A Festive Delight
Looking for a show-stopping dessert that’s as fun to make as it is to eat? You’ve found it!
A Burst of Holiday Cheer in Every Bite
Did you know that over 65% of people associate specific foods with festive holidays? Christmas, in particular, often evokes images of warm spices, rich chocolates, and, of course, vibrant colors. If you’re searching for a dessert that perfectly captures the spirit of the season with minimal fuss, look no further than this Easy Layered Christmas Jello. This visually stunning creation is surprisingly simple to prepare, making it an ideal centerpiece for your holiday gatherings, guaranteed to bring smiles to faces young and old. Say goodbye to stressful baking and hello to a refreshing, fruity, and undeniably festive treat!
Gather Your Festive Flavors
The magic of this layered jello lies in its simplicity and the delightful interplay of colors and flavors. We’re keeping it classic and straightforward, but feel free to get creative!
For the Red Layers:
- 2 (3 oz) packages Cherry or Strawberry Jell-O: The vibrant ruby red hue is essential for our Christmas theme. These provide a sweet, slightly tart berry flavor that’s universally loved. (Substitution: Raspberry or Cranberry Jell-O for a deeper red.)
- 2 cups boiling water: This is crucial for dissolving the gelatin. Make sure it’s truly boiling for the best results.
- 1 cup cold water: Used to set the jello at the perfect pace.
For the Green Layers:
- 2 (3 oz) packages Lime Jell-O: For that essential evergreen color and a zesty, refreshing taste. (Substitution: Green Apple or Lemon Jell-O for a different citrusy twist.)
- 2 cups boiling water: Again, essential for proper dissolution.
- 1 cup cold water: To ensure the perfect set.
For the White Layer (Optional but Recommended!):
- 1 (3 oz) package plain unflavored gelatin: This acts as our binder and creates a creamy, opaque layer.
- 1 cup boiling water: To dissolve the gelatin.
- 1 cup sweetened condensed milk (or half-and-half for a lighter option): This adds a touch of sweetness and creamy texture. (Substitution: Evaporated milk mixed with a little sugar, or even a dairy-free creamer.)
- 1/2 cup cold water: To balance the mixture.
Your Festive Timeline
15 minutes
~2-3 hours per layer (total 6-9 hours)
~6-9 hours (mostly hands-off chilling)
Compared to average layered jello recipes that can take upwards of 12 hours due to longer chilling times between less precise layers, our approach is streamlined for efficiency. The key is not to rush the chilling process, as this layer’s integrity is crucial for the next.
Crafting Your Christmas Jello Masterpiece
Get ready to create some edible holiday art! The trick to beautiful layers is patience – ensuring each layer is *just* set before adding the next. This prevents colors from blending and creates those crisp lines.
Step 1: Prepare the Base Layer
Let’s start with the bottom of our jello mosaic. Typically, I like to start with red for a classic Christmas feel. In a heatproof bowl, pour the contents of your first two {red} Jell-O packages. Carefully pour in 2 cups of boiling water. Whisk gently but thoroughly for about 2 minutes, ensuring every granule of Jell-O has dissolved into that glorious liquid. Now, stir in 1 cup of cold water. Give it one last stir, and pour this vibrant mixture into your chosen serving dish – a clear glass trifle bowl or a rectangular glass baking dish works beautifully. This allows everyone to see the stunning layers you’re about to create!
Step 2: Chill the Base
This is where patience truly pays off. Carefully place your dish in the refrigerator. We want this layer to be partially set – firm enough to support the next layer without the colors bleeding. This usually takes about 45 minutes to 1 hour. You’ll know it’s ready when it’s slightly jiggly but not liquid. If you’re using the white layer, prepare it now: Dissolve the unflavored gelatin in 1 cup boiling water, then stir in the sweetened condensed milk and 1/2 cup cold water. Let this mixture cool slightly to room temperature (important, so it doesn’t melt the set jello).
Step 3: Reveal the Christmas Magic
Once the red jello is ready, gently spoon your slightly cooled white mixture over the red layer. The key here is to pour it slowly over the back of a spoon or to pour it onto the edge of the bowl to minimize disturbance. This creates a beautiful, cloudy contrast. Return the dish to the refrigerator and chill for another 45 minutes to 1 hour, or until this white layer is also partially set.
Step 4: Add the Second Layer
Now for the festive green! Prepare the {lime} Jell-O in the same way you prepared the red: dissolve the two green packages in 2 cups boiling water, whisking well, then stir in 1 cup of cold water. Let this mixture cool slightly. Once the white layer is partially set, gently spoon the green Jell-O mixture over it, again using the back of a spoon or pouring it carefully to maintain those distinct layers. Pop it back into the fridge to set for another 45 minutes to 1 hour.
Step 5: Repeat for Ultimate Festivity
Depending on your dish and how thick you want your layers, you can repeat the process. For a more decadent, multi-layered effect, you can create another white layer, allow it to partially set, then add another red layer, and so on, alternating red and white, or green and white, or even just doing a red-white-green-white-red sequence. Remember to ensure each layer is slightly set before adding the next to keep those lines crisp and clean. Each chilling step adds about 45 minutes to 1 hour.
Step 6: The Grand Finale
Once you’ve added your final layer (I usually finish with red or green for the top), allow the entire Jell-O dessert to chill thoroughly. This final setting period is crucial and typically takes at least 2-3 hours, but overnight is even better for a perfectly firm jello. Once fully set, you can serve it directly from the dish or unmold it if you used a mold.

Nutritional Snapshot (Per Serving, Approx.)
Please note: Nutritional information can vary significantly based on brands used and portion sizes. This is an approximate guide.
- Calories: 150-200 kcal
- Carbohydrates: 30-40g
- Sugar: 25-35g
- Fat: 2-5g (primarily from condensed milk if used)
- Protein: 2-4g
Lighter, Brighter Holiday Options
Want to enjoy this festive treat with a slightly lighter touch? Here are some swaps:
- Sugar-Free Jell-O: Opt for sugar-free varieties of your favorite Jell-O flavors to drastically cut down on sugar and calories. The texture remains almost identical!
- Reduced-Fat Condensed Milk: Use fat-free or low-fat sweetened condensed milk, or even evaporated milk with a touch of sweetener, for the white layer.
- Natural Sweeteners: For the white layer, consider using coconut milk and sweetening with maple syrup or agave nectar, though this may slightly alter the color and flavor.
- Unsweetened Gelatin: This recipe already uses plain gelatin for the white layer, which is a healthier choice than sweetening.
Serving Your Festive Jello
This jello is a star on its own! Serve chilled in squares or scoops from your chosen dish. For an extra festive touch, you can:
- Garnish with whipped cream, fresh berries (like raspberries or cranberries), or a sprig of mint.
- Serve alongside a scoop of vanilla ice cream or a dollop of Greek yogurt for added richness.
- If using a mold, unmolding onto a festive platter makes for a grand presentation.
Common Pitfalls to Dodge
Don’t let these small errors dim your festive glow:
- Rushing the Chilling: The most common mistake! If you add layers too soon, they will mix into a muddy mess instead of distinct, beautiful lines. Be patient!
- Adding Hot Liquids to Set Layers: Always let your prepared jello mixture cool slightly before pouring it over a set or partially set layer. Hot liquid will melt the layer beneath.
- Not Dissolving Gelatin Completely: Undissolved gelatin can lead to a grainy texture or layers that don’t set properly. Whisk thoroughly!
- Over-Chilling: If a layer becomes too firm (like hard candy), the next layer might not adhere well. Aim for “partially set” – it will still jiggle slightly.
Keeping the Festivities Fresh
Store your beautiful layered jello covered tightly in the refrigerator. It will keep well for up to 3-4 days. Because it’s gelatin-based, it’s best enjoyed within that timeframe for optimal texture and freshness. Avoid leaving it at room temperature for extended periods.
Frequently Asked Questions
How can I get perfectly straight layers?
The key is patience and temperature control. Ensure each layer is partially set before adding the next. Also, pour the new layer gently over the back of a spoon or down the side of the dish to minimize any disruption to the layer below.
Can I use different Jell-O flavors?
Absolutely! While red and green are classic for Christmas, feel free to experiment with other colors and flavors like blue, yellow, or even purple. Just ensure they are compatible in terms of sweetness and setting time.
What kind of dish is best for layered jello?
Clear glass dishes are ideal because they showcase the beautiful layers. A trifle bowl, a glass baking dish, or even individual clear glasses or jars work wonderfully.
My jello layers mixed together. What went wrong?
This almost always happens when a layer is added before the previous one has sufficiently set. It needs to be firm enough to support the weight and liquid of the subsequent layer without melting or mixing.
Happy Layering!
This Easy Layered Christmas Jello is more than just a dessert; it’s a festive experience. It’s a delightful way to add a splash of color and a burst of fruity flavor to your holiday table with minimal stress. So gather your ingredients, embrace the chilling time, and get ready to impress your guests with this stunning, vibrant, and delicious holiday treat. Make this year’s dessert table sparkle!
Easy Layered Christmas Jello: A Festive Delight
This Easy Layered Christmas Jello is a visually stunning and festive dessert that is simple to prepare, making it perfect for holiday gatherings.
Ingredients
- 6 ozlime Jell-O
- 6 ozcherry or raspberry Jell-O
- 1 cupcrushed pineapple, well-drained
- 1/2 cupchopped pecans or walnuts (optional)
- 8 ozcream cheese, softened
- 1 cupwhipped topping or1/2 cupwhipped heavy cream
- 2 cupsboiling water (divided)
- 2 cupscold water (divided)
- Whipped cream (for topping)
- Lime zest (for garnish)
Instructions
- Prepare the Lime Layer: In a mixing bowl, dissolve the lime Jell-O packet in one cup of boiling water and stir until completely dissolved. Add one cup of cold water and the crushed pineapple (and chopped nuts, if using). Pour into a 9×13 dish and refrigerate to set for 45 minutes to 1 hour.
- Create the Creamy Layer: Beat the softened cream cheese until smooth, then fold in the whipped topping. Spread over the set lime layer and refrigerate for an additional 30 minutes.
- Prepare the Cherry Layer: Dissolve the cherry Jell-O in boiling water, add cold water, and pour over the set cream layer. Refrigerate for at least 1-2 hours until fully set.
Notes
You can make this dessert a day in advance; just ensure it is well covered in the fridge.
Nutrition
- Calories: 160 kcal
- Protein: 3 g
“`
Leave a Reply