“`html
Table of Contents
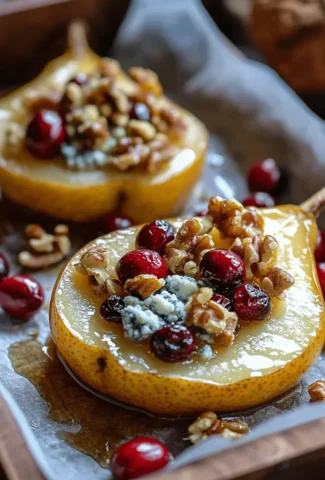
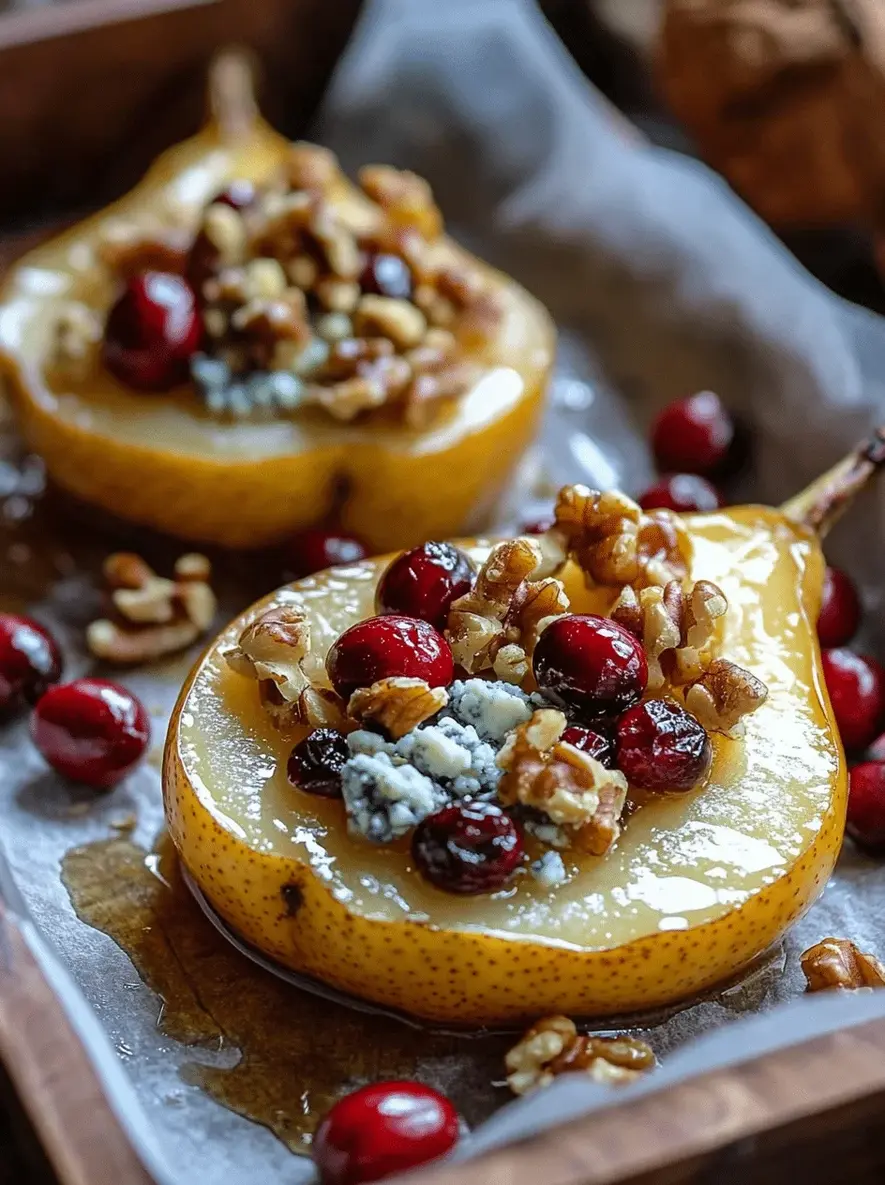
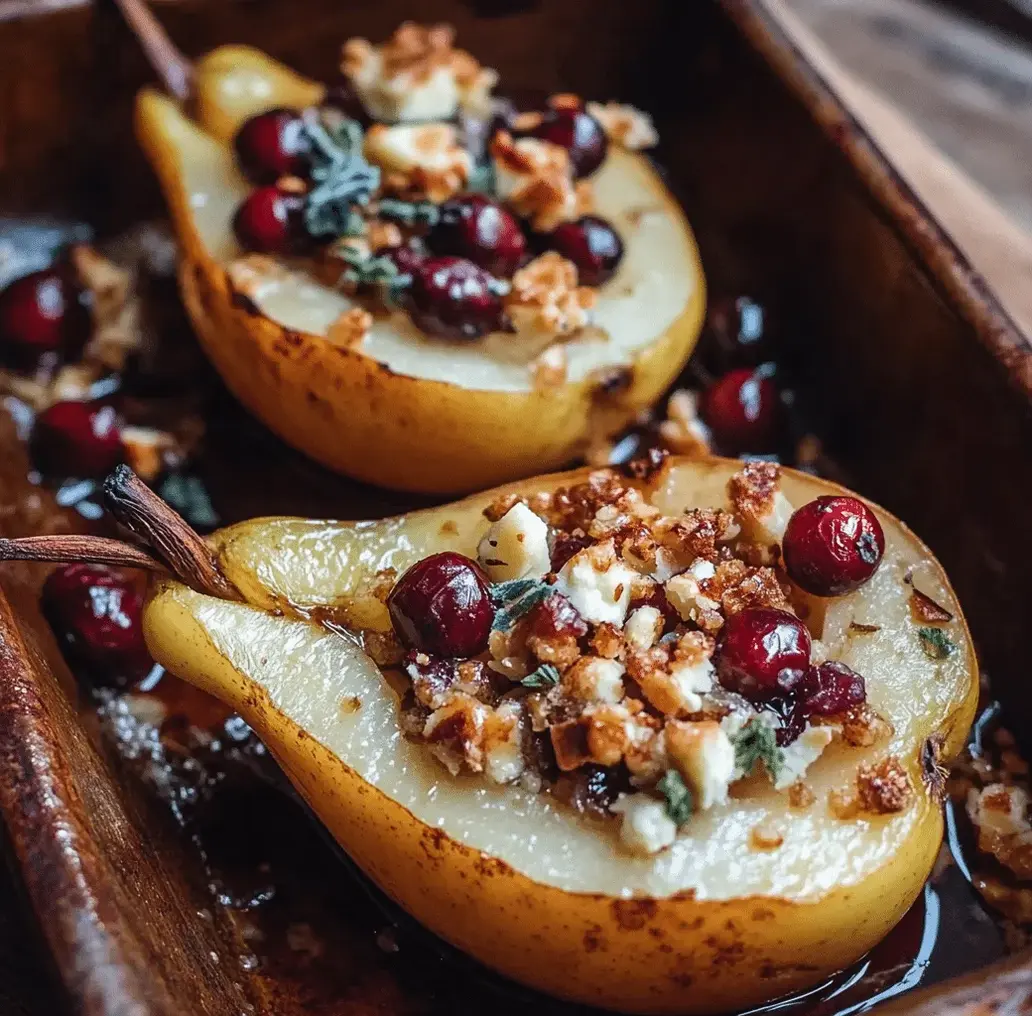
Delicious Baked Pears with Cranberries and Blue Cheese
Embrace the Cozy Flavors of Fall with Baked Pears
Are you looking for a dessert that perfectly embodies the comforting and rich flavors of autumn? If so, you’re in the right place! Baked Pears with Cranberries, Honey, Walnuts, and Blue Cheese is more than just a dessert; it’s an experience. Imagine tender, caramelized pear halves, generously filled with tart cranberries, sweet honey, crunchy walnuts, and the unexpected, delightful tang of blue cheese. This dish is a symphony of textures and tastes, offering a perfect balance of sweet, savory, and slightly sharp notes. It’s an elegant yet simple way to impress your guests or to simply treat yourself to a moment of pure autumnal bliss. Get ready to discover why this recipe is a must-try for the season!
The Heart of the Dish: Fresh Ingredients for an Unforgettable Flavor
The magic of this baked pear dish lies in its harmonious blend of high-quality ingredients. Each component plays a crucial role in creating a layered and satisfying flavor profile. We’ve included some notes and potential substitutions to help you tailor it to your liking.
- 4 ripe but firm pears (Bosc, Anjou, or Bartlett are ideal). Look for pears that yield slightly to gentle pressure, indicating they are ripe but not mushy. They should hold their shape beautifully when baked.
- 1/2 cup fresh or frozen cranberries. These little ruby gems bring a delightful tartness that cuts through the sweetness. If using frozen, no need to thaw.
- 1/4 cup chopped walnuts. For that essential crunch and earthy, nutty flavor. Toasted walnuts offer an even more intense aroma and taste.
- 2 tablespoons honey, plus extra for drizzling. A liquid gold sweetener that caramelizes beautifully. Maple syrup is a lovely alternative.
- 2 ounces blue cheese, crumbled. This is the secret ingredient that elevates the dish! Its pungent, salty creaminess is a surprising, yet perfect, counterpoint to the sweet pear and tart cranberries. Gorgonzola or a milder Danish blue can be used if you prefer a less intense blue cheese flavor.
- 1 tablespoon unsalted butter, melted. Adds richness and helps in the caramelization process.
- 1/2 teaspoon ground cinnamon. For that warm, classic autumnal spice. Nutmeg or a touch of allspice also work wonderfully.
- Pinch of salt. Enhances all the other flavors.
Perfectly Timed: From Prep to Perfection
This recipe is designed for maximum flavor with minimal fuss, making it your go-to for a special occasion or a weeknight treat.
Cook time: 30-40 minutes
Total time: 45-55 minutes
Compared to many elaborate fall desserts, this recipe is relatively quick to prepare. The average dessert can take over an hour of active prep and baking time, but we’ve streamlined this for you!
Crafting Your Delicious Baked Pears: A Step-by-Step Guide
Follow these simple steps to create a dessert that’s as beautiful as it is delicious.
Step 1: Preheat Your Oven and Prepare the Pears
Start by preheating your oven to 375°F (190°C). This temperature is perfect for gently cooking the pears until tender without turning them into mush. Next, prepare your pears: wash them thoroughly. Then, carefully slice each pear in half lengthwise. Using a small spoon or a melon baller, scoop out the core and seeds from the center of each pear half, creating a little well for the filling. Be careful not to scoop too deep or you’ll pierce the bottom!
Step 2: Mix the Delectable Filling
In a medium bowl, combine the cranberries, chopped walnuts, honey, crumbled blue cheese, melted butter, cinnamon, and a pinch of salt. Stir everything together gently until it’s well combined. You’ll notice the distinct textures and colors of the ingredients – the vibrant red cranberries, the toasty walnuts, the creamy blue cheese, all coming together with the sweet honey and fragrant cinnamon. This mixture is going to be the star of your baked pears!
Step 3: Generously Fill the Pear Halves
Now, it’s time to assemble! Place the hollowed-out pear halves cut-side up in a baking dish. Spoon the cranberry-walnut-blue cheese mixture generously into the cavity of each pear half. Don’t be shy; pack it in there! Make sure each pear gets a good amount of all the filling ingredients. The mixture might mound slightly over the top, which is perfectly fine – it will bake down beautifully.
Step 4: Bake Until Tender and Bubbly
Place the baking dish in your preheated oven. Bake for 30-40 minutes, or until the pears are tender when pierced with a fork and the filling is bubbly and slightly caramelized. The exact baking time will depend on the ripeness and variety of your pears. You want them soft enough to enjoy with a spoon but still holding their shape. Keep an eye on them during the last 10 minutes of baking to prevent the cheese from burning, though a little browning is desirable.
Step 5: Cool Slightly and Serve
Once baked to perfection, carefully remove the baking dish from the oven. Let the baked pears cool for a few minutes before serving. This allows the flavors to meld further and makes them easier to handle. For an extra touch of sweetness and visual appeal, you can drizzle a little extra honey over the top.
Nutritional Snapshot
Here’s an approximate nutritional breakdown per serving (assuming 4 servings):
- Calories: ~250-300 kcal
- Macronutrients:
- Protein: ~5g
- Fat: ~12g (varies with blue cheese)
- Carbohydrates: ~35g (includes natural sugars from fruit and honey)
- Fiber: ~6g
Note: This is an estimation and can vary based on the specific types and amounts of ingredients used, especially the type of blue cheese and pear.
Smarter Swaps for a Lighter Indulgence
We believe in making delicious recipes accessible to everyone, so here are some ways to lighten up this delightful dish without sacrificing flavor:
- Reduced-Fat Blue Cheese: Opt for a reduced-fat blue cheese or a milder variety like feta cheese for a similar salty tang with fewer calories and fat.
- Maple Syrup or Agave Nectar: Use pure maple syrup or agave nectar instead of honey for a slightly different sweetness profile and potential glycemic benefits for some.
- Nut Substitutions: Swap walnuts for pecans or even pumpkin seeds (pepitas) for a different flavor and texture profile, or omit nuts altogether if preferred.
- Omit Butter: The butter adds richness, but the pears will still caramelize nicely without it. You can skip it entirely or use a light cooking spray on the baking dish if you’re concerned about sticking.
- More Fruit: Increase the amount of cranberries or add some diced apple to the filling for extra fruitiness and fiber.
Elevate Your Presentation: Serving Ideas
These baked pears are incredibly versatile. Here are a few ideas to serve them:
- As a Light Dessert: Serve warm, perhaps with a dollop of Greek yogurt or a small scoop of vanilla bean ice cream.
- As a Sophisticated Starter: Plate one pear half with a small side salad, perhaps with a light vinaigrette, for a refreshing and elegant appetizer.
- With Breakfast or Brunch: These are wonderful served warm alongside pancakes, waffles, or even a savory breakfast scramble.
- Garnish: A sprinkle of fresh mint leaves or a dusting of powdered sugar can add an extra visual flourish.
Avoid Pitfalls: Common Mistakes to Dodge
To ensure your baked pears are a resounding success, be mindful of these common slip-ups:
- Using Underripe or Overripe Pears: Underripe pears won’t soften, while overripe ones will turn to mush. Aim for firm but yielding.
- Overfilling the Pears: While you want a generous filling, too much can spill over and burn, making cleanup difficult and potentially drying out the pear.
- Not Baking Long Enough: The pears need adequate time to become tender. Test with a fork; if it meets resistance, bake longer.
- Burning the Blue Cheese: Keep an eye on the dish in the oven, especially towards the end. If the cheese starts to look too dark, you can loosely tent the pears with foil.
Savor the Flavor: Storing Your Baked Pears
Leftover baked pears can be stored for future enjoyment:
- Refrigeration: Allow the baked pears to cool completely. Store them in an airtight container in the refrigerator for up to 2-3 days.
- Reheating: To reheat, place the pears on a baking sheet and warm in a preheated oven at 300°F (150°C) for about 10-15 minutes, or gently warm them in a microwave. Be cautious not to overheat, as the pears can become mushy.
Frequently Asked Questions
***What kind of pears are best for baking?***
Bosc, Anjou, and Bartlett pears are excellent choices for baking. They have a firm texture that holds its shape well during cooking and a lovely sweet flavor. Ensure they are ripe but not overly soft.
***Can I make this recipe ahead of time?***
You can prepare the pear halves and the filling separately a day in advance and refrigerate them. Assemble and bake just before serving for the best texture and warm, melty cheese.
***What if I don’t like blue cheese?***
No problem! You can substitute with goat cheese, feta cheese, or even a sharp cheddar for a savory element. For a dairy-free option, consider a sprinkle of nutritional yeast or a creamy cashew-based cheese alternative.
***How do I know when the pears are perfectly baked?***
The pears are ready when they are tender enough to be easily pierced with a fork, yet still hold their shape. The filling should be bubbly and slightly golden or caramelized.
***Can I use other nuts?***
Absolutely! Pecans, almonds, or even toasted hazelnuts would be delicious alternatives to walnuts. For a nut-free version, toasted sunflower seeds or pumpkin seeds (pepitas) work wonderfully.
A Taste of Autumn You Won’t Forget
Baked Pears with Cranberries and Blue Cheese is a testament to how simple ingredients can come together to create something truly extraordinary. It’s a dish that balances sweetness, tartness, and a hint of savory complexity, making it perfect for any autumn gathering or cozy evening. Don’t wait to try this delightful recipe – your taste buds will thank you!
Delicious Baked Pears with Cranberries and Blue Cheese
Baked Pears with Cranberries, Honey, Walnuts, and Blue Cheese is a delicious and elegant dish that captures the essence of cozy fall flavors.
Ingredients
- 3ripe pears, halved and cored
- 2 tbsphoney
- ½ cupfresh or dried cranberries
- ⅓ cupchopped walnuts
- ¼ cupcrumbled blue cheese
- 1 tbspmelted butter
- ½ tspground cinnamon (optional)
Instructions
- Start by preheating your oven to 375°F (190°C). This temperature is essential for ensuring your pears bake evenly and become wonderfully tender. While the oven is heating up, prepare your baking dish by lightly greasing it with melted butter. This will help prevent the pears from sticking and allow for easy serving later.
- Next, take your ripe pears and slice them in half. Make sure to carefully remove the core using a spoon or a melon baller to create a hollow space in each half. This step is crucial as it enables you to fill the pears with the delicious cranberry and walnut mixture. Place the pear halves cut-side up in the greased baking dish, ensuring they sit comfortably and won’t tip over during baking.
- In a mixing bowl, combine the cranberries and walnuts. Generously fill the hollow centers of each pear half with this mixture. The combination of tart cranberries and crunchy walnuts will provide a delightful textural contrast to the soft, sweet pears. Once filled, drizzle honey over the pears for added sweetness, and if you choose, sprinkle with ground cinnamon for an extra layer of warmth and flavor.
- Place the baking dish in the oven and allow the pears to bake uncovered for approximately 25 to 30 minutes. Keep an eye on them during this time; they should become fork-tender, meaning they’re perfectly cooked. The smells that will fill your kitchen are simply heavenly. When there are about 5 minutes left on the timer, sprinkle the crumbled blue cheese over the tops of the pears. This addition will melt beautifully, adding a rich and savory layer to the dish.
- Once the baking time is up, remove the dish from the oven and let the pears cool slightly before serving. The warm pears, gooey honey, crunchy walnuts, and melted blue cheese will create a textured and flavorful bite that’s sure to please your taste buds. Serve them warm, and get ready for compliments!
Notes
Choose pears that are ripe but still firm, as overly soft pears can break down too much during baking.
Nutrition
- Calories: 200 kcal
- Protein: 4 g
“`
Leave a Reply