
Let’s get this delicious recipe ready for spicemingle.com!
“`html
Table of Contents
Delicious No-Bake Soft Peppermint Balls Recipe
Introduction
Looking for a festive, fuss-free holiday treat that will have everyone asking for the recipe? Studies show that the average person consumes 300-500 calories during holiday gatherings, and sweets often make up a significant portion. But what if you could create a crowd-pleasing dessert that’s incredibly easy, requires no oven time, and delivers pure Christmas joy in every bite? Introducing our Delicious No-Bake Soft Peppermint Balls – the ultimate no-bake holiday candy recipe that’s wonderfully creamy, intensely minty, and guaranteed to enchant your taste buds. These melt-in-your-mouth morsels are perfect for cookie exchanges, festive parties, or simply adding a touch of sparkle to your holiday season. Get ready to make your holidays a little sweeter and a lot simpler!
Ingredients
Crafting these delightful peppermint balls is a straightforward process with simple ingredients that deliver an explosion of festive flavor. The creamy sweetness balanced with a cool minty kick is what makes them so irresistible.
- 1 cup (2 sticks) unsalted butter, softened to room temperature. This provides the rich, creamy base for our peppermint balls. Ensure it’s soft, not melted, for the best texture.
- 4 cups powdered sugar (confectioners’ sugar), sifted to remove lumps. This is the primary sweetener and binder, creating that signature soft, melt-in-your-mouth texture.
- 1/4 cup milk (any kind works: whole, 2%, almond, soy), room temperature. This helps to emulsify the butter and sugar, creating a smooth, pliable dough.
- 1 teaspoon peppermint extract. This is where the quintessential festive flavor comes from! Use a good quality extract for a vibrant, clean peppermint taste. A little goes a long way.
- 1/4 teaspoon pure vanilla extract. This enhances the overall sweetness and adds a subtle layer of warmth to complement the peppermint.
- Optional: Red and green food coloring (gel or liquid). For that classic Christmas carnival of color!
- Optional: Crushed candy canes or festive sprinkles for coating. For added crunch, visual appeal, and that extra peppermint punch.
Substitutions:
- Butter: Salted butter can be used but omit or reduce any added salt in the recipe. Margarine can also work, but the flavor and texture might differ slightly.
- Milk: Any dairy or non-dairy milk will work. Water can be used in a pinch, but milk adds a bit more richness.
- Peppermint Extract: If you’re not a fan of strong peppermint, you can reduce it to 1/2 teaspoon or substitute with a different flavoring like spearmint or even a touch of almond extract.
- Powdered Sugar: Ensure it’s finely sifted. If you can’t find powdered sugar, you can attempt to blend granulated sugar in a high-powered blender until powdered, but sift meticulously afterwards.
Timing
15 minutes
30 minutes
45 minutes (+ optional decorating time)
Compared to most baked cookies which can take 1-2 hours from start to finish, these no-bake peppermint balls are incredibly time-efficient. The active preparation is minimal, allowing you more time to enjoy the festive season. The chilling time is crucial for them to firm up, and the optional decorating can add as much or as little time as you wish.
Step-by-Step Instructions
Let’s dive into creating these festive delights. Follow these simple steps for perfect no-bake peppermint balls!
Step 1: Prepare the Base
In a large mixing bowl, cream together the softened unsalted butter and sifted powdered sugar. Start on low speed to avoid a sugar explosion, then gradually increase to medium speed. Beat until the mixture is light, fluffy, and well combined. This might take about 3-5 minutes. Scrape down the sides of the bowl occasionally to ensure everything is incorporated.
Step 2: Add the Minty Magic
Add the milk, peppermint extract, and vanilla extract to the butter and sugar mixture. If you’re planning to add color, divide the mixture into separate bowls now, adding a few drops of red and/or green gel food coloring to achieve your desired festive hues. Mix again on medium speed until everything is thoroughly combined and smooth. The dough should be thick but pliable.
Step 3: Shape the Balls
Using a tablespoon or a small cookie scoop, scoop out portions of the dough. Roll each portion between your palms to form smooth, round balls, about 1 inch in diameter. If the dough is too sticky, you can lightly dust your hands with powdered sugar. If it’s too dry and crumbly, add another teaspoon of milk. Place the formed balls onto a baking sheet lined with parchment paper.
Step 4: Chill to Perfection
Once all the dough is shaped into balls, place the baking sheet in the refrigerator for at least 30 minutes. This chilling step is crucial as it firms up the peppermint balls, making them easier to handle and preventing them from losing their shape. This also allows the flavors to meld beautifully.
Step 5: Coat and Decorate (Optional)
While the balls are chilling, prepare your optional coatings. If using crushed candy canes, place them in a zip-top bag and crush them with a rolling pin or the bottom of a heavy pan. Set them aside along with any sprinkles or edible glitter you might want to use. Once the peppermint balls are firm, you can dip them in melted white chocolate and then into the crushed candy canes or sprinkles, or simply roll them gently in the coatings. If not dipping in chocolate, you can roll them directly in the crushed candy canes or sprinkles while they are still slightly cool and firm. Let them set fully on the parchment paper.
Nutritional Information
(Note: Nutritional values are approximate and can vary based on specific ingredients and portion sizes. This calculation is for one peppermint ball, assuming 24 balls per recipe, without optional coatings.)
- Calories: ~150-180 kcal
- Fat: ~8-10g
- Saturated Fat: ~5-6g
- Carbohydrates: ~20-25g
- Sugar: ~18-22g
- Protein: ~1g
Healthier Alternatives
While these treats are meant to be a festive indulgence, here are some ways to make them a tad lighter without sacrificing the core flavor:
- Reduced Sugar: While it will alter the texture significantly, you could try reducing the powdered sugar by 1/2 cup and incorporate a sugar substitute that bakes/sets well at room temperature. However, achieving the soft, melt-in-your-mouth texture without a substantial amount of powdered sugar is challenging.
- Fat Consideration: Using a lighter butter alternative might reduce fat content, but be mindful of how it affects the overall texture and flavor. A small amount of coconut oil (solidified) could be a replacement for some butter, but it will impart a coconut flavor.
- Flavor Strength: Focus on high-quality peppermint extract for maximum flavor impact using less, or even consider using peppermint essential oil (food-grade only and in extremely tiny amounts – 1-2 drops typically suffice for a large batch) for a more intense, pure mint flavor.
- Portion Control: The easiest “healthier” alternative is to make smaller balls and enjoy just one or two!
Serving Suggestions
These soft peppermint balls are delightful on their own, but they also pair beautifully with other holiday treats. Serve them as part of a festive cookie platter, alongside rich hot chocolate or a steaming mug of coffee. They make wonderful edible gifts! Package them in festive tins or cellophane bags tied with ribbon for a charming homemade present.
Common Mistakes to Avoid
- Butter is too soft or melted: This will result in a sticky dough that’s impossible to shape and won’t firm up properly. Ensure your butter is softened but not greasy.
- Not sifting powdered sugar: Lumps in the powdered sugar will lead to a gritty texture in your peppermint balls. Always sift!
- Over-mixing: Once combined, over-mixing can make the dough tough. Mix until just incorporated.
- Skipping the chill time: This is crucial for them to hold their shape. Don’t rush this step!
- Too much liquid: Adding too much milk can make the dough too soft to roll. Add liquids gradually.
Storing Tips
These peppermint balls store wonderfully, making them ideal for making ahead of your holiday festivities. Keep them in an airtight container at room temperature for up to 10-14 days. If you’ve coated them in white chocolate, they might benefit from being stored in the refrigerator to prevent the chocolate from softening, though this can slightly affect their soft texture. Ensure they are completely cool and set before storing.

Frequently Asked Questions
Can I make these with different flavors?
Absolutely! While peppermint is classic for the holidays, you can swap the peppermint extract for other extracts like almond, lemon, or even a touch of orange for a different festive flavor profile.
Why are my peppermint balls not firm enough?
This usually happens if the butter was too soft, too much liquid was added, or if they weren’t chilled long enough. Ensure you’re using softened, not melted, butter and follow the chilling instructions carefully.
Can I freeze these?
Yes, you can freeze them! Place them in a single layer on a baking sheet until firm, then transfer to an airtight container with parchment paper between layers. Freeze for up to 2-3 months. Thaw them in the refrigerator overnight before enjoying.
My dough is too crumbly, what should I do?
If your dough is too crumbly, it likely needs a touch more moisture. Add milk, one teaspoon at a time, mixing gently until it just comes together. Be careful not to add too much, or it will become too sticky.
These cookies are so simple and incredibly delicious! Have you tried them yet? Tag us in your creations on social media!
Delicious No-Bake Soft Peppermint Balls Recipe

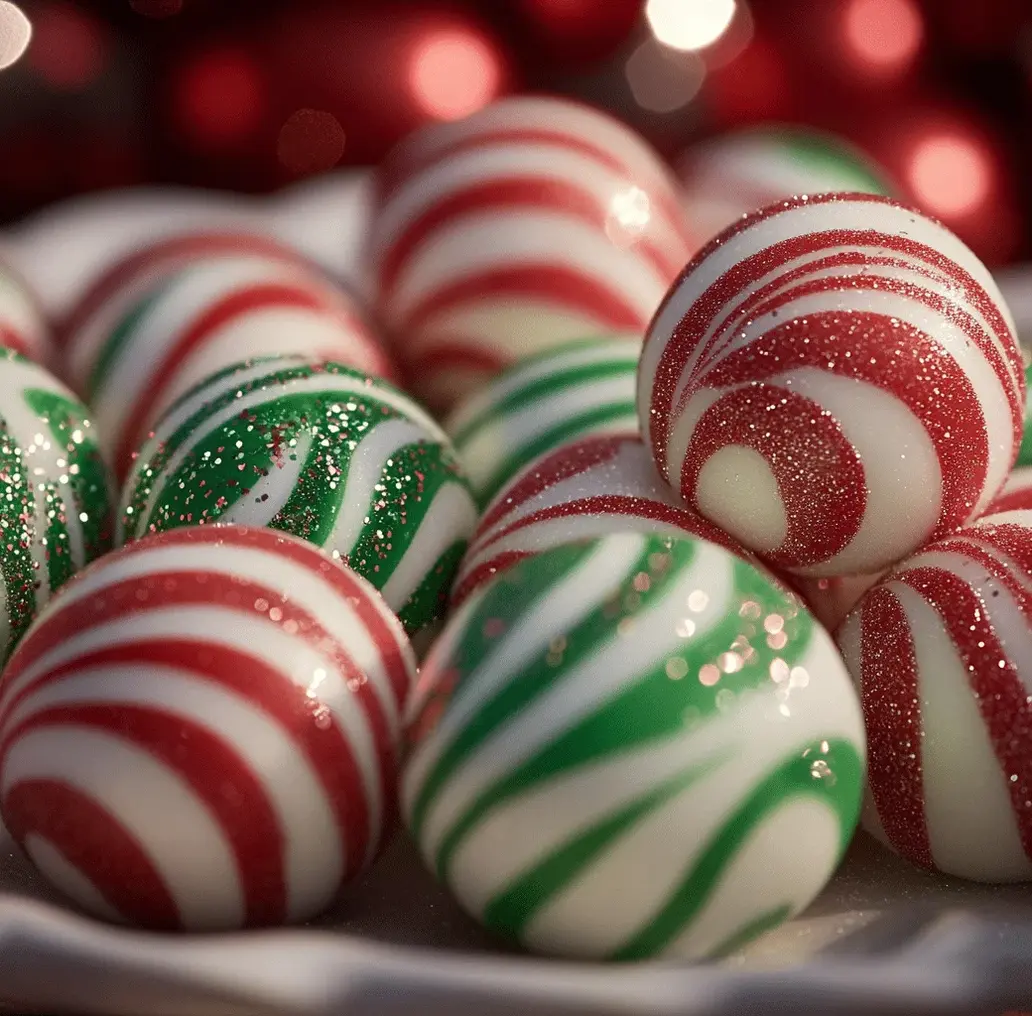
Soft Peppermint Balls are the ultimate no-bake holiday candy recipe—a creamy, minty, and festive treat that brings pure Christmas joy in every bite.
Ingredients
- 2 cupspowdered sugar (confectioners’ sugar) — sifted for best results
- 1 tablespoonlight corn syrup — can substitute honey or maple syrup
- 2 tablespoonsunsalted butter, softened — vegan butter works well for a dairy-free option
- ½ teaspoonpeppermint extract — essential for that classic mint flavor
- 1 tablespoonmilk (plus more if necessary) — whole, almond, or oat milk are great choices
- Red gel food coloring — adds a vivid holiday color
- Green gel food coloring — creates a festive contrast
- Optional: edible glitter or luster dust — for a lovely finish
Instructions
- To kick off your candy-making adventure, grab a medium mixing bowl. Combine the sifted powdered sugar, corn syrup, softened butter, peppermint extract, and milk. Use a rubber spatula to mix these ingredients together until you’ve formed a smooth and pliable dough. If the mixture feels too sticky, gradually add more powdered sugar, a tablespoon at a time, until it reaches the perfect consistency akin to soft cookie dough—one that’s easy to roll but not tacky.
- Now that you’ve got your dough, it’s time to add a festive flair! Divide the peppermint dough into three equal portions. Keep one portion plain for contrast. With the second portion, add red gel food coloring, and for the third, add green. Gently knead each colored portion until the colors are uniformly blended.
- On a clean surface dusted with powdered sugar to prevent sticking, begin rolling each of the colored dough portions into ropes about ½-inch thick. If you want to create a classic striped candy look, twist all three ropes together gently and roll them again to blend the colors into a lovely pattern.
- Once your candies are formed, place them on a sheet of parchment paper. This is the perfect stage to sprinkle them lightly with edible glitter or luster dust.
- To give the candies a firm, set texture, transfer them to a tray and pop them into the refrigerator for about 30 minutes.
Notes
Store them in an airtight container in the refrigerator to maintain their freshness.
Nutrition
- Calories: 100 kcal
- Protein: 0.5 g
“`
Leave a Reply